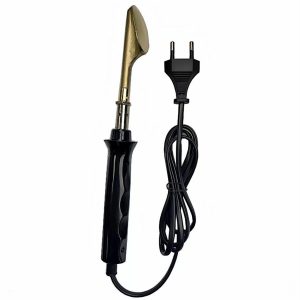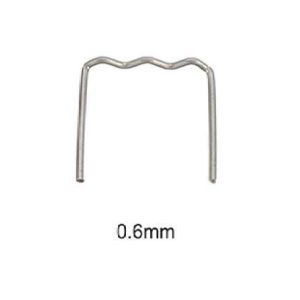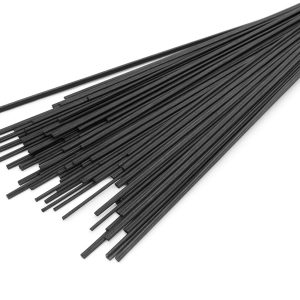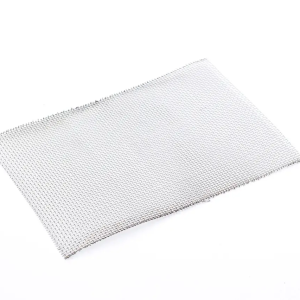
Washer reservoirs are usually polyethylene (PE) or polypropylene (PP), and glue does not stick to them — the crack has to be welded with rod of the same plastic. Remove the tank, rinse it with water and dry it completely, drill 2–3 mm holes at the crack ends, cut a groove and weld. To test, fill it with water and leave it for 24 hours. A coolant expansion tank runs hot and under pressure, so a crack on its seam or neck should not be welded — replace the tank.
A washer reservoir most often cracks in winter: summer fluid or plain water was left inside, froze and pushed the wall apart. The second cause is vibration and a broken mount. A new tank isn’t always at hand, but the crack can be welded reliably with an hour of work and a day of testing.
Why glue and sealant don’t help
Reservoirs are made of polyethylene (>PE<, >PE-HD<) or polypropylene (>PP<). These plastics have a very “slippery” surface: epoxy, cold weld and most sealants barely stick to them. Such a fix lasts a week or two and then peels off from vibration and temperature swings. The reliable way is to melt the tank material itself and add rod of the same plastic so the crack becomes a solid wall.
Washer fluid contains alcohols whose vapours burn. Before heating the tank, rinse it with water several times and dry it completely. Fuel tanks and fuel cans are never repaired this way: petrol and diesel vapours can ignite even after washing.
What you need
- A plastic welding iron — with a plate or a small triangle smoothing tip that fits tight spots.
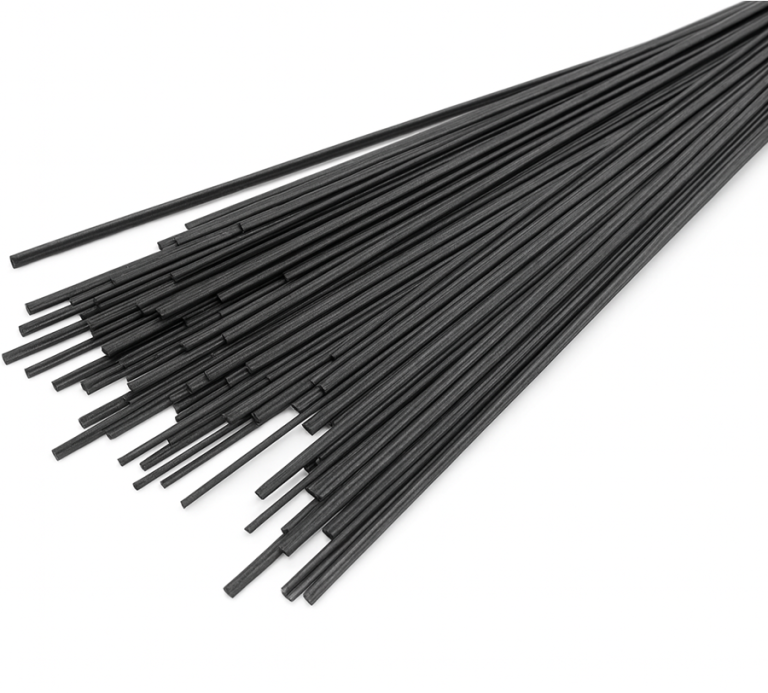
- Rod of the plastic marked on the tank: PE or PP.
- A 2–3 mm drill bit, a knife or burr for the groove, isopropyl alcohol, sandpaper.
Step by step
- Remove the tank. Disconnect the pump, level sensor and hoses, and note what goes where. Welding the tank on the car is awkward and risky for the wiring.
- Rinse and dry. Several rinses with water, then leave it to dry for a day or dry it with warm air. Moisture left in the crack boils under the iron and leaves pores.
- Find the marking. The material code is usually on the bottom or near the filler neck. It decides the rod.
- Stop the crack. 2–3 mm holes at both ends so heat doesn’t make it run further.
- Cut a groove along the crack from the outside — with a knife or a burr at low speed. Degrease with alcohol.
- Weld. Heat the groove edge to a gloss, melt the rod in and stir it into the base. Go 1–1.5 cm past the crack ends and close the holes.
- Let it cool naturally, without water, and sand lightly if the tank is on show.
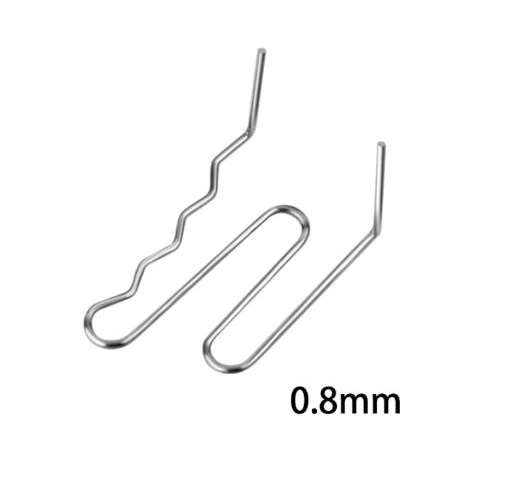
If the crack runs next to a mount, melt a small piece of reinforcing mesh into the outside: the tank hangs on those tabs and vibrates all the time. For tight spots near the mounts, the small 16 mm triangle smoothing tip is handy.
How to check it doesn’t leak
Fill the tank with water to the top mark, stand it on dry paper and leave it for 24 hours — the same test tank repair specialists recommend. A wet spot on the paper reveals even a slow weep. Then shake the tank and squeeze the walls slightly: the seam must not “breathe”. If it weeps somewhere, dry it and go over that spot again.
The coolant expansion tank is a different story
The coolant tank works under pressure and heats up to nearly 100 °C. A crack in the middle of a flat wall can be welded, but if the seam between the halves, the neck or the cap thread has cracked, replace the tank: that seam is pulled apart at every warm-up, and a rupture on the road will cost more than a new tank. After a repair, test it with water first and then on a warmed-up engine — starting cold, and never opening the cap when hot.
How to prevent a new crack
Before frosts, fill winter fluid and check what temperature it is good for. The easiest way is a refractometer: two drops, and the scale shows the freezing point of washer fluid and coolant, and even battery acid density. Details are in the refractometer guide.
FAQ
Can I just glue the tank?
Not for long. PE and PP hardly hold glue or sealant: such a fix peels off from vibration and frost. Welding with rod of the same plastic turns the crack into a solid wall.
When can I use the tank after the repair?
Once it has fully cooled and passed the water test. The seam sets in half an hour, but a 24-hour paper test reveals even a slow weep.
How do I find out what the tank is made of?
Look at the bottom or near the neck for letters in angle brackets, such as >PE-HD< or >PP<. Buy rod to match that marking.
Can I repair a fuel tank this way?
No. Fuel tanks and fuel cans are not welded at home: vapours can ignite even after washing. Such a tank must be replaced.
Sources and workshop experience
- Plastech Services — repairing polypropylene tanks: test with water for at least 24 hours after the repair
- Paddling Magazine — how to weld polyethylene: heat to a gloss, stir in the rod, cool without water
- Repairer Driven News / Polyvance — melting points of PP and PE and why overheating weakens the weld
Updated 30.09.2026 · PayPayPlast editorial team — we test the advice on our own repairs
Read next
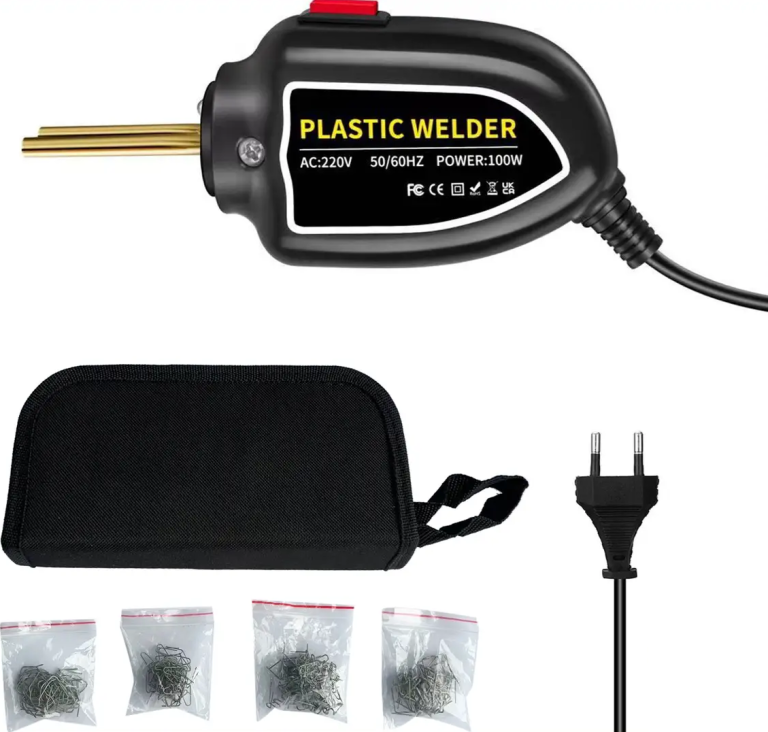 Plastic weldingHow to choose a hot stapler or a plastic welding ironStaples or rod, 50 or 110 W, a kit or just the tool. We compare the options and explain what to buy for your repair.4 min readRead
 Plastic weldingHow to weld plastic with a rod: step by step and 7 mistakesGroove, heat, rod feed and cooling. How to make a seam that won’t chip off, and what not to do even “to save time”.4 min readRead
 Plastic weldingHow to repair a broken headlight tab or bumper mountA headlight or bumper hangs on a few plastic tabs. How to put a broken one back — and how to grow a new one if the piece is lost.3 min readRead
Cannot find your case? Message us on Telegram and we will tell you exactly what to take for your part.
Message us on Telegram