The rod must be the same plastic as the part. Degrease the crack, drill 2–3 mm holes at its ends and cut a V-groove two thirds of the wall thickness deep. Heat the surface until it turns glossy, melt the rod in and stir it into the base, going 1–1.5 cm past the crack ends. Let it cool naturally, without water, then sand.
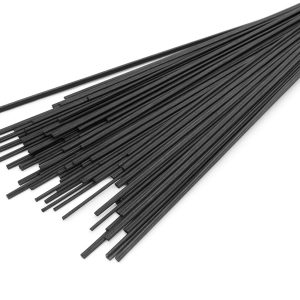
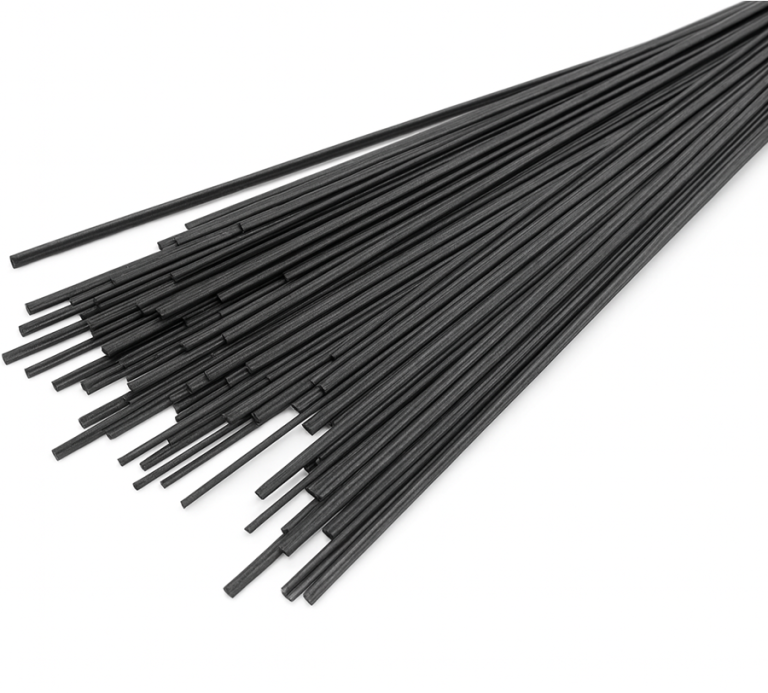
A welding rod is filler material, like an electrode in metal welding. Melted, it fills the groove along the crack and blends with the plastic of the part. Done right, the crack turns into solid material with no boundary between “old” and “new”. There is one main rule: the rod and the part must be the same plastic. PP won’t bond to ABS, and PE won’t bond to PP, even if the seam looks whole.
Step 1. Identify the plastic and pick the rod
Manufacturers stamp the material code on the back of the part in angle brackets: >PP<, >ABS<, >PE-HD<, >TPO<. Bumpers are usually PP or TPO, housings and grilles ABS, tanks and canisters PE or HDPE, pipes PVC or PPR. A detailed table is in “PP, ABS or PE”.
Step 2. Prepare the crack
- Wash and degrease. Dirt, wax and silicone stop plastic from fusing. First soapy water, then isopropyl alcohol.
- Stop the crack. Drill a 2–3 mm hole at each end so the crack does not run further when heated.
- Cut a V-groove. Along the crack — a groove of about 90° and two thirds of the wall thickness deep. Factory manuals advise a burr at low speed so friction does not melt the plastic.
- Strip a 2–3 cm band on each side of paint and primer down to bare plastic.
Step 3. Heat and feed the rod
Heat the groove edge until the surface turns glossy — the matte “fuzz” disappears exactly when the plastic is ready to take filler. Feed the rod into the groove and stir it into the base with small movements, without letting the melt pool. Plastic conducts heat poorly, so rushing hurts: better go slower than do it twice.
The sign of the right temperature is simple: the molten rod spreads and wets the surface. If it rolls into a ball or sits on top as a bead, it’s too cold. If you see smoke, bubbles or a brown edge, it’s overheated.
Hotter does not mean stronger. Polyvance compared welds in peel tests: PVC samples welded too hot were about a third weaker than those welded at the recommended temperature. Keep the tip on just long enough for the plastic to shine, and no longer.
Step 4. Go past the end of the crack
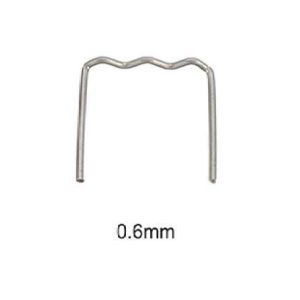
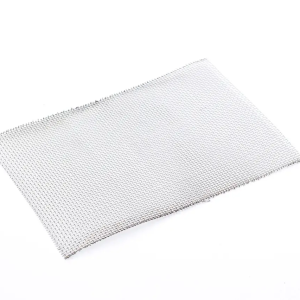
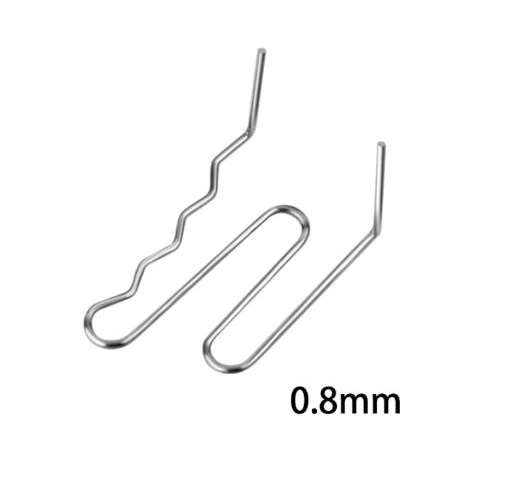
Continue the seam at least 1–1.5 cm beyond the crack ends — across the drilled holes. The bead should be at least as thick as the wall: after sanding, the seam must not become the thinnest spot of the part. On loaded areas, put staples on the back first, and if the spot flexes, melt in reinforcing mesh. When you need which is explained in “Mesh or rod”.
Step 5. Cool and finish
Let the part cool on its own, without water or canned air: sudden cooling builds internal stress and the seam cracks next to the bead. Once cool, take off the excess with P120 sandpaper, level with P240 and finish with P320. For paint, always use a plastic primer first.
Tips that make the job easier
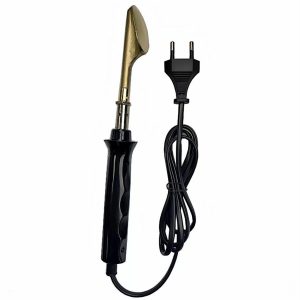
The mini extruder melts rod right in the groove and smooths it with its 20 mm sole — two operations in one pass. The wide smoothing tip heats large areas and melts in mesh; the small triangle gets into narrow cracks and onto mounts. The tips fit irons up to 80 W with a 5.6 mm shank.
7 mistakes that make a seam chip off
- Rod of a different plastic. The seam looks good but peels off at the first knock or frost.
- Dirty or greasy surface. Especially after polish and silicone trim dressings.
- No groove. The rod sits on top and holds only by its edges.
- Overheating. Smoke, bubbles, a dark edge — the plastic has degraded and become brittle.
- Rushing. Cold rod doesn’t blend with the base and delaminates.
- Cooling with water. The seam cracks next to the bead.
- Stopping exactly at the crack end. Without holes and a 1–1.5 cm margin, the crack keeps going.
Special cases: TPO, PVC and PPR
- TPO (TEO) — soft modern bumpers. Weld only with TPO rod; PP rod will “grab” but won’t hold.
- PVC gives off corrosive fumes when overheated. Work with extraction or outdoors, wear a respirator and don’t overheat.
- PPR — heating and water pipes. Rod repairs are only for non-pressure sections; a pipe under pressure should be replaced with fittings.
FAQ
How do I know the rod has fused?
Once cool, you can’t see a boundary between rod and part, and the bead doesn’t give to a fingernail or a screwdriver blade. If the edge chips off in a strip, the rod sat on top and didn’t mix with the base.
Can I weld PP with PE rod?
No. Polypropylene and polyethylene are similar but mix poorly: the seam will hold only until the first load. Match the rod exactly to the part’s marking.
How much rod does a repair take?
It depends on the groove width. A 100 g pack covers several medium cracks on a bumper or a tank.
Do I need mesh?
For a straight crack in the middle of a flat surface, rod and staples are enough. Mesh is needed in corners, near mounts and wherever the part flexes.
Sources and workshop experience
- Repairer Driven News / Polyvance — an overheated weld is weaker: peel tests and a chart of plastic melting points
- Saab WIS: General welding techniques — factory manual: a V-groove and low grinder speed so the plastic does not overheat
- Paddling Magazine — a kayak repairer on heating to a gloss, mixing rod into the base and cooling without water
Updated 30.09.2026 · PayPayPlast editorial team — we test the advice on our own repairs
Read next
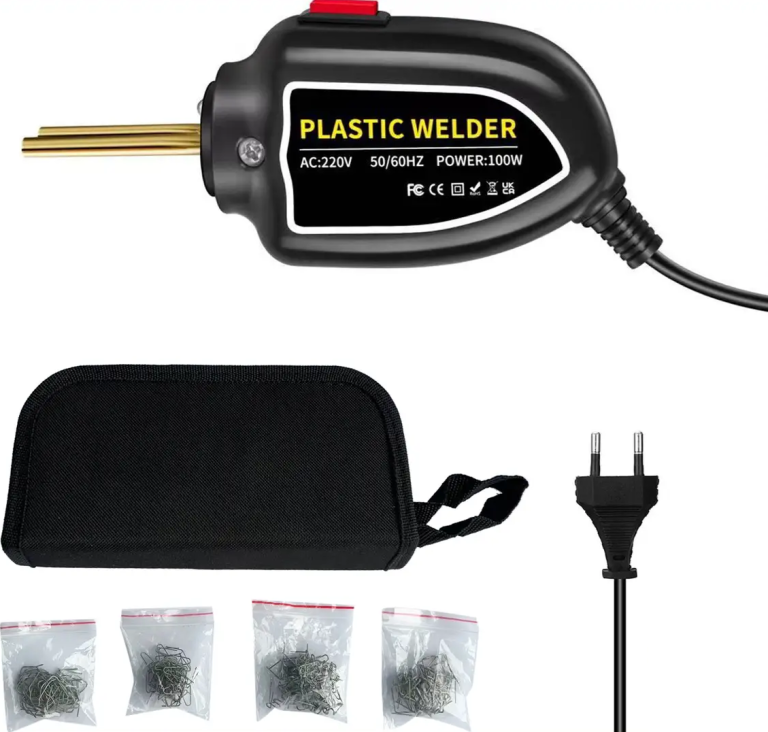 Plastic weldingHow to choose a hot stapler or a plastic welding ironStaples or rod, 50 or 110 W, a kit or just the tool. We compare the options and explain what to buy for your repair.4 min readRead
 Plastic weldingHow to weld a washer fluid reservoir or coolant tank so it stops leakingThe tank cracked after a frost or from vibration. How to weld it with rod, test it for leaks and when it is better to replace it.4 min readRead
 Plastic weldingHow to repair a broken headlight tab or bumper mountA headlight or bumper hangs on a few plastic tabs. How to put a broken one back — and how to grow a new one if the piece is lost.3 min readRead
Cannot find your case? Message us on Telegram and we will tell you exactly what to take for your part.
Message us on Telegram