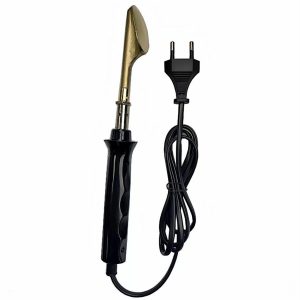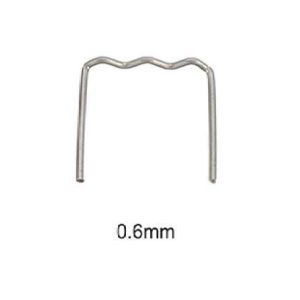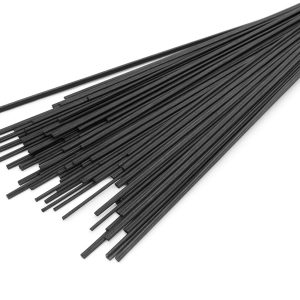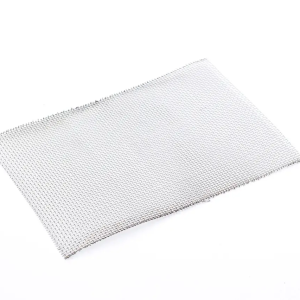
A broken tab is put back with flat or corner stainless staples, then wrapped in reinforcing mesh extending 2 cm to each side and covered with rod of the same plastic. If the piece is lost, the new tab’s frame is bent from mesh, stapled to the base and built up with rod through a mini extruder. Drill the hole after it cools. Never heat the headlight lens (polycarbonate).
A headlight and a bumper hang on a few plastic tabs. In a light knock, those are what break: the part is intact but sits loose, rattles and hums over bumps. A new headlight housing is expensive, while a tab can be restored in an evening — if you give it both a metal frame and solid plastic around it.
What a headlight is made of and what must not be heated
The headlight housing is usually polypropylene (>PP<, sometimes filled — >PP-GF< or >PP-T20<), and the clear lens is polycarbonate (>PC<). Don’t heat the lens: polycarbonate clouds, yellows and cracks. Work on the housing only, cover the lens with a wet cloth or foil and move connectors and wires aside. Always take the headlight off the car.
If the tab broke off in one piece
- Clean both halves of dirt and paint and degrease them. Fit them together without a step and hold them with a clamp or masking tape on the front.
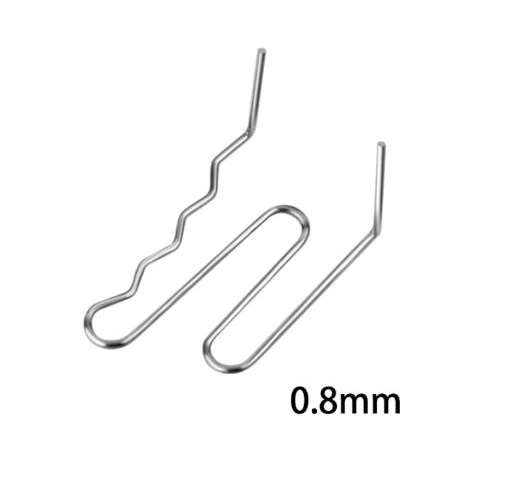
- Staple across the break. Flat staples on a flat tab, 90° corner staples on a tab at an angle to the housing, inside-corner staples in an inner corner. Two or three staples on each side, each going in to about half the thickness.
- Wrap it in mesh. Cut a strip of reinforcing mesh extending about 2 cm past the break on each side and melt it in with a smoothing tip. Stainless mesh stays stiff when heated and doesn’t rust inside.
- Cover it with rod. Rod of the same plastic as the housing goes over the mesh so no metal shows.
- Restore the hole with a drill once fully cool, rather than piercing it hot.
Equipment maker Polyvance explicitly recommends using a hot stapler to hold a broken headlight tab in position while you weld — the staples act as a temporary clamp and permanent rebar at once. And car owners on forums agree: a tab with metal mesh melted into it holds better than plastic built up alone.
based on Polyvance and car forumsIf the piece is lost
You can grow the tab back. Mesh becomes the frame and rod the body.
- Shape the frame. Cut mesh with a margin, fold it in two and bend it to the shape of the lost tab. Stainless mesh is stiff and holds its shape.
- Weld the frame to the housing with corner or flat staples and melt the mesh edge into the base.
- Build up the plastic. The mini extruder feeds rod straight onto the mesh and smooths it — in layers, letting each one set a little.
- Shape it with the triangle tip, sand once cool and drill the hole.
Put a wide washer under the bolt of the restored tab and don’t overtighten: the plastic under the bolt head should be compressed evenly. And don’t skimp on staples — a tab that holds a headlight through vibration deserves one staple more.
A bumper mount is the same, just bigger
Bumper tabs near the wings and headlights are repaired the same way: staples across the break, mesh on the back, rod on top. Bumpers are mostly PP or TPO — pick the rod by the marking on the inside. For long cracks next to a mount, S-shaped staples reinforce the seam along its whole length.
How long it takes
A tab that broke off whole takes 20–30 minutes including prep. A new tab built on mesh takes about an hour: most of the time goes into building the plastic up in layers and letting each cool.
FAQ
How many staples per tab?
Usually two or three on each side of the break. If the tab holds a headlight or bumper through vibration, add one more — it won’t be wasted.
Which mesh — 15×21 or 30×60 cm?
A 15×21 cm sheet is enough for several tabs. Take 30×60 cm if you do many repairs or need to reinforce a large bumper area.
Can I glue the tab?
Glue holds poorly on polypropylene, and a tab works under tension and vibration. Staples, mesh and rod produce solid reinforced material, so this repair lasts for years.
Do I have to remove the headlight?
Yes. On the car it is hard to heat the tab evenly, and easy to catch the wires and the lens. Removing the headlight often takes longer than the repair, but it is safer.
Sources and workshop experience
- Polyvance: Hot Spot Stapler — equipment maker: a hot stapler holds broken headlight tabs in position while you weld
- GarageJournal — workshop experience: mesh and rod on the back, cosmetic work on the front
- Repairer Driven News / Polyvance — why you must not overheat the plastic around a headlight
Updated 30.09.2026 · PayPayPlast editorial team — we test the advice on our own repairs
Read next
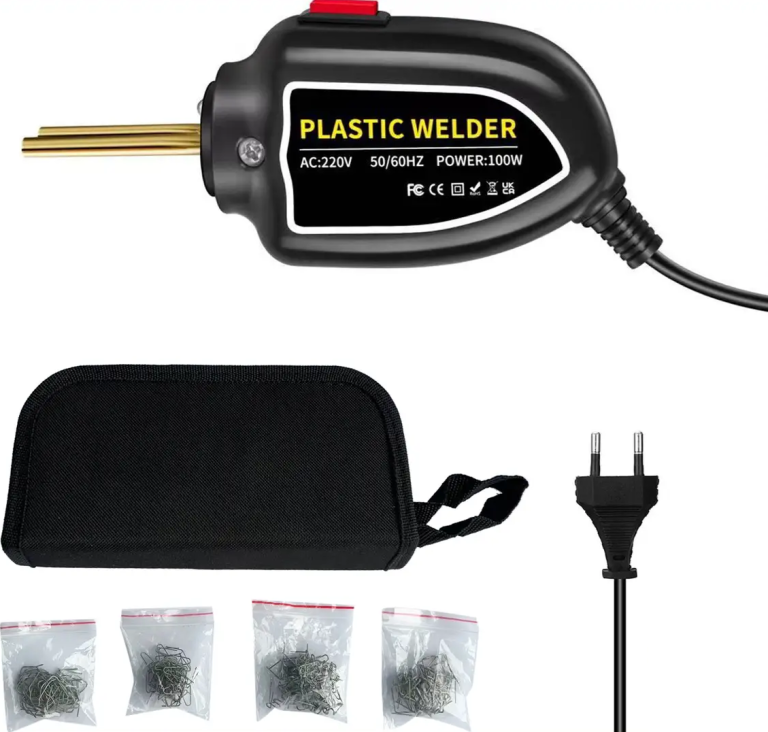 Plastic weldingHow to choose a hot stapler or a plastic welding ironStaples or rod, 50 or 110 W, a kit or just the tool. We compare the options and explain what to buy for your repair.4 min readRead
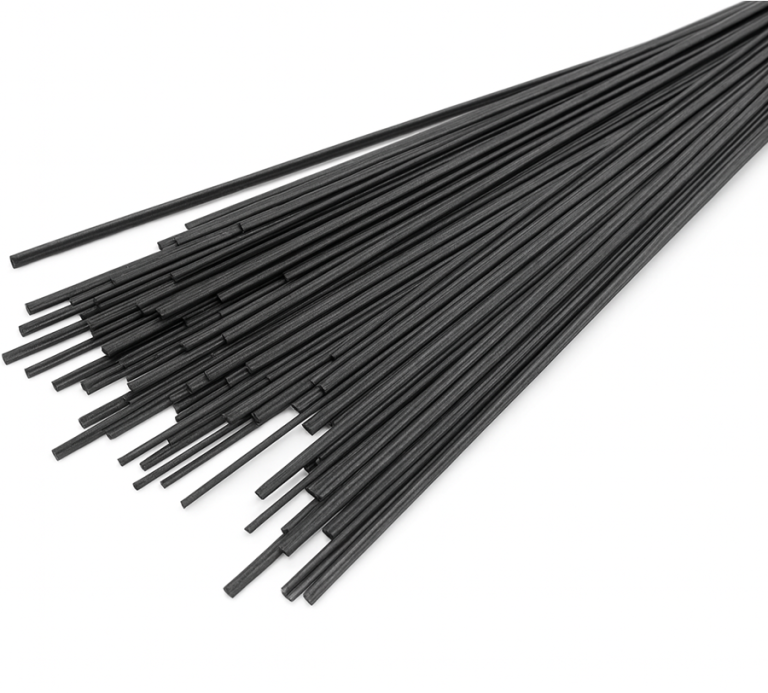 Plastic weldingHow to weld plastic with a rod: step by step and 7 mistakesGroove, heat, rod feed and cooling. How to make a seam that won’t chip off, and what not to do even “to save time”.4 min readReadPlastic weldingHow to weld a washer fluid reservoir or coolant tank so it stops leakingThe tank cracked after a frost or from vibration. How to weld it with rod, test it for leaks and when it is better to replace it.4 min readRead
Cannot find your case? Message us on Telegram and we will tell you exactly what to take for your part.
Message us on Telegram