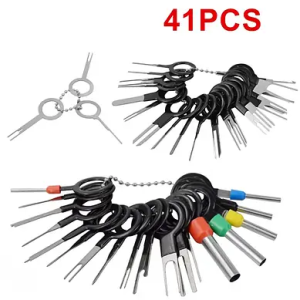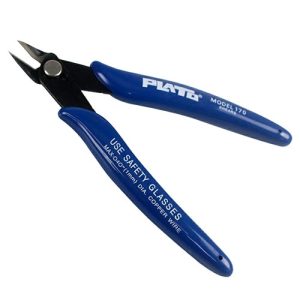
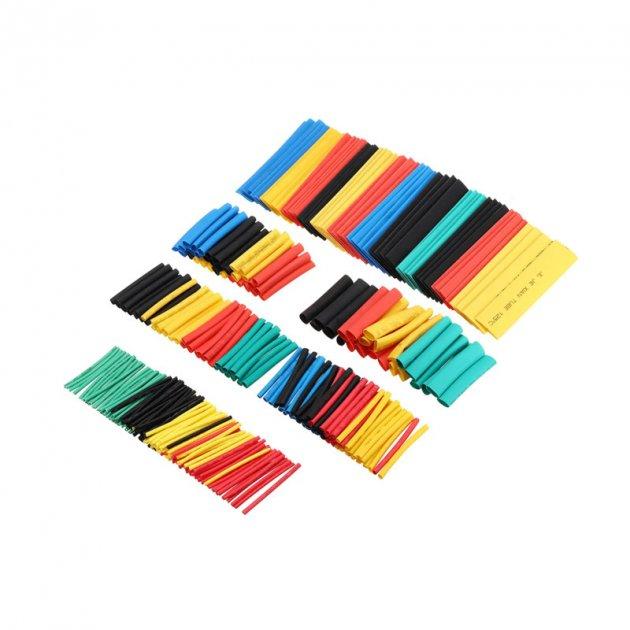
Choose the ferrule by wire cross-section (0.5–6 mm²), not by colour. Strip so the wire runs through the whole metal barrel and just protrudes, with the insulation inside the plastic collar. Crimp with a dedicated ferrule crimper, on the metal part only, then give it a pull test. Slide heat shrink on before joining, allow 5–10 mm each side and heat it with hot air from the middle outwards, never with a lighter.
Stranded wire clamped into a screw terminal “as is” frays over time: some strands escape from under the screw, the contact weakens, the terminal heats up and the joint fails at the worst moment. A ferrule gathers the strands into one metal barrel, and heat shrink protects the joint from moisture, vibration and shorts. Both are simple — if done right.
Where ferrules are needed
In every screw and spring terminal that takes stranded wire: relays, distribution blocks, amplifiers, fuse blocks, terminal strips in panels. Wire-to-wire soldered or crimped splices don’t need ferrules — that’s a job for butt connectors and heat shrink.
Step 1. Pick the size
A ferrule’s size is the wire cross-section. A marking like E1508 reads as 1.5 mm² with an 8 mm barrel. Collar colours differ between standards, so DigiKey engineers advise not to rely on colour alone — check the marking.
| Marking | Cross-section | AWG | Colour in our kit |
|---|---|---|---|
| E0508 | 0.5 mm² | 22 | yellow or orange |
| E7508 | 0.75 mm² | 20 | white |
| E1008 | 1.0 mm² | 18 | red |
| E1508 | 1.5 mm² | 16 | black |
| E2512 | 2.5 mm² | 14 | blue |
| E4012 | 4.0 mm² | 12 | grey |
| E6012 | 6.0 mm² | 10 | green |
The ferrule should be a snug fit. One that is too big crimps unevenly, the thin metal cracks and strands stay loose.
Step 2. Strip correctly
Strip length is the metal barrel length plus about 1 mm: after crimping, the strand tips should just protrude from the barrel and the wire insulation should sit inside the plastic collar. If the wire is hidden inside, you can’t check the crimp; if stripped too short, the ferrule simply slides off. A DigiKey engineer singles out exactly this defect: no wire visible at the barrel tip means the strip was too short or the wire wasn’t pushed all the way in.
Don’t pull the insulation slug all the way off — slide it to the wire tip and remove it just before fitting the ferrule. The strands stay twisted and don’t fray while you prepare the other wires.
Step 3. Crimp
- Use a ferrule crimper with a square or hexagonal profile. Pliers and cutters flatten the barrel into a “petal” that sits badly in the terminal.
- Insert the ferrule so only the metal barrel is in the jaws. The plastic collar touches the jaws but does not go into them.
- Crimp fully — a self-adjusting crimper releases by itself once it reaches the right force.
- Pull-test it. The ferrule must not move on the wire.
The worst mistake is crimping the plastic collar instead of the metal. Such a joint may even survive the first tug, but the contact is unstable: over time you get intermittent faults that take ages to find.
Heat shrink: how to choose
- Diameter. Before heating the tube should slide freely over the joint; after, it should grip the wire tightly. In 2:1 kits the recovered diameter is half the original.
- Length. Allow 5–10 mm each side of the bare metal.
- Material. Polyolefin handles −45 to +125 °C and 500 V — enough for the cabin and most joints in a car. In the engine bay and where water may get in, add sealant to the joint or use adhesive-lined tubing.
Heat shrink: how to fit it
- Slide the tube on before you join the wires. The classic mistake is remembering it after soldering or crimping.
- Centre the tube over the joint.
- Heat with hot air from the middle outwards, turning the wire. Air escapes out the ends and no bubbles remain.
- Don’t use a lighter. An open flame soots the tube, burns through it and can melt the neighbouring wire insulation.
Solder or crimp in a car
In car electrics most technicians choose crimping: the car vibrates constantly, and solder wicking into the strands makes the wire stiff so it breaks at the edge of the solder. If you do solder, always support that spot with heat shrink longer than the solder-soaked section.
FAQ
Can I crimp a ferrule with pliers?
Technically yes, but the barrel gets flattened, sits unevenly in the terminal and makes weaker contact. A square or hex crimper compresses it evenly from all sides.
The ferrule colour doesn’t match the table — what now?
Go by the marking and cross-section, not the colour: colours differ between standards. E1508 is always 1.5 mm².
What can I heat shrink with if I have no heat gun?
Any heat gun — a builder’s one or a compact crafts heat gun. A lighter soots and burns through the tube.
Which heat shrink for the engine bay?
Polyolefin handles up to +125 °C, enough for most spots. Where water may get in, add sealant or use adhesive-lined tubing.
Sources and workshop experience
- DigiKey TechForum — a DigiKey engineer on ferrule crimp quality: proper stripping, crimping the metal barrel only, wire just protruding
Updated 30.09.2026 · PayPayPlast editorial team — we test the advice on our own repairs
Read next
 Car electricsHeadlight or power socket dead: check the fuse and pull the pin from the connectorThe two most common culprits behind small electrical faults are a blown fuse and a poor contact in a connector. How to find and replace the first and remove a pin without breaking the plug.4 min readRead
 Plastic weldingHow to choose a hot stapler or a plastic welding ironStaples or rod, 50 or 110 W, a kit or just the tool. We compare the options and explain what to buy for your repair.4 min readRead
 Plastic weldingHow to weld plastic with a rod: step by step and 7 mistakesGroove, heat, rod feed and cooling. How to make a seam that won’t chip off, and what not to do even “to save time”.4 min readRead
Cannot find your case? Message us on Telegram and we will tell you exactly what to take for your part.
Message us on Telegram