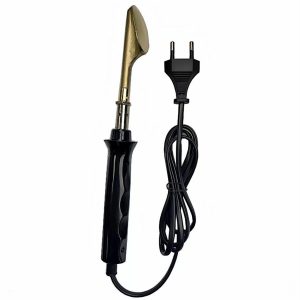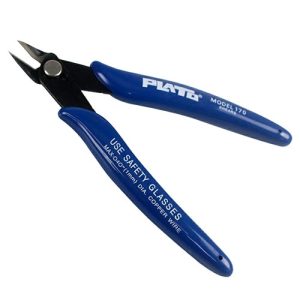
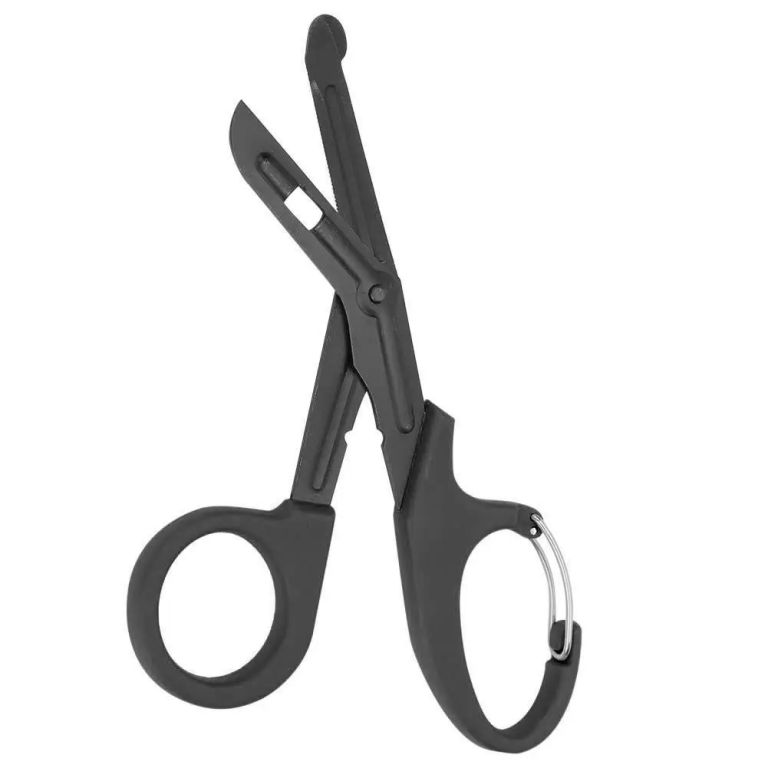
Reinforcing mesh, welding rods and plastic patches up to 2–3 mm thick are cut with serrated shears: the teeth grip the wire and slippery plastic, and the blunt tip doesn’t scratch the part. Cut the mesh about 2 cm larger than the crack on each side and round the corners so wire ends don’t stick out of the seam. Trim stainless staple legs with side cutters, not shears — otherwise the blades chip quickly.
Plastic repair means constant cutting: shaping reinforcing mesh to a crack, cutting rod to length, cutting a patch from scrap plastic, trimming staple legs. Office scissors slide on mesh and go dull within a few cuts, and a knife next to stainless wire is the quickest route to cut fingers. Here is what to cut with what, and why.
What to cut with what
| Material | Cut with | Watch out for |
|---|---|---|
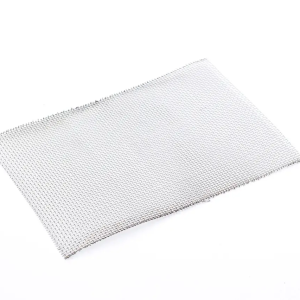
| Stainless reinforcing mesh | Serrated shears | ~2 cm margin past the crack, round the corners |
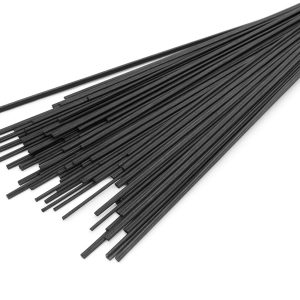
| Welding rod | Shears or cutters | Cut the end at an angle — easier to start the seam |
| Plastic patch up to 2–3 mm | Shears | Thicker plastic — a hacksaw or knife |
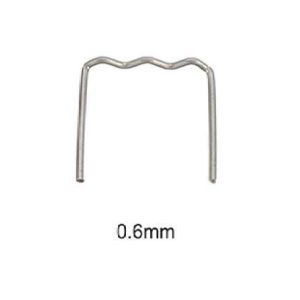
| Staple legs, 0.6–0.8 mm | Side cutters | Not shears: stainless chips the blades |
| Burrs and runs | Precision cutters, a knife | Then sand with P120–P320 |
Which shears work
- Serrated blades. The teeth grip mesh wire and slippery polyethylene so the material doesn’t slide out from under the blade.
- A blunt rounded tip. You can run the shears right against the part or under the mesh without scratching the plastic or stabbing your hand.
- 18–19 cm long. Enough leverage for dense material while staying easy to handle.
- Stainless steel — 420, for example — doesn’t rust in a garage.
- Large loops — for work gloves.
A maker of serrated shears suggests a simple check: open and close them several times — the action should be smooth with no wobble at the pivot; hold them up to the light — the blades should meet with no gap; cut something dense — they should glide, not chew. The pivot is the first thing to give out on cheap shears.
based on OneShearHow to cut the mesh
- Measure the crack and add about 2 cm on each side — the mesh should reach into sound plastic.
- Cut a strip or patch along the grid with a clean cut, no tearing.
- Round the corners. Sharp wire ends at the corners later poke out of the seam and through the paint.
- On curved areas make a few relief cuts from the edges so the mesh follows the shape without folds.
- Wear gloves: freshly cut wire is prickly.
Stainless mesh made of 0.2 mm wire cuts easily and holds its shape when heated. A 15×21 cm sheet covers several corners and tabs; take 30×60 cm if you do a lot of repairs.
A plastic boat repairer interviewed by Paddling Magazine recommends stainless mesh for flat areas because it won’t rust inside the seam. And paddlers at Whitewater Guidebook, when they have no rod at hand, cut filler from a piece of the same plastic — from the rim of the item where it won’t show.
based on Paddling Magazine and Whitewater GuidebookHow to cut rod
- 20–30 cm lengths are easy to hold and feed evenly without burning your fingers.
- Cut the end at an angle. A pointed tip heats faster and the seam is easier to start.
- Twin-core rod can be split along its web with shears into two thin strands — for narrow tabs and small cracks.
Plastic patches
Cut a patch from the same type of plastic — an old jerry can, a barrel or an offcut — with a 1.5–2 cm margin around the hole. Thin plastic up to 2–3 mm cuts with shears; thicker needs a hacksaw or a knife. Round the patch corners and bevel the edge slightly with a knife so it sits flatter and welds better around the edge. How to weld the patch in is covered in the polyethylene can guide.
Staple legs and burrs
Stainless staples of 0.6–0.8 mm wire are trimmed flush with side cutters right after they’re melted in — hot stapler kits include them. Shears are not for this: stainless wire chips the teeth. Precision cutters are handy for thin wire, plastic burrs and runs in tight spots.
Keep one pair of shears for mesh and plastic only — they will stay sharp for longer. Wipe plastic dust off the blades after work and put a drop of oil in the pivot every few months. Shears on a carabiner can hang on a garage panel, always within reach.
FAQ
Do the shears cut stainless reinforcing mesh?
Yes. Mesh made of 0.2 mm wire cuts easily with serrated shears — the teeth grip the wire so it doesn’t slip.
Can I trim staple legs with shears?
No. Stainless 0.6–0.8 mm wire chips the blades. Use side cutters for staples — hot stapler kits include them.
Why do the shears have a blunt tip?
You can run them right against the part or under the mesh without scratching the plastic or stabbing your hand.
Will ordinary office scissors do?
For rod, for a while. On mesh they slide and dull quickly, and the pointed tip scratches the part.
Sources and workshop experience
- Paddling Magazine — a plastic boat repairer on stainless mesh for flat areas and patches cut from the same plastic
- Whitewater Guidebook — paddlers cut filler from the rim of the same item; a knife and scraper are the core tools
- OneShear: how to test shears — a maker of serrated shears on the pivot, blade alignment and a test on dense material
Updated 02.10.2026 · PayPayPlast editorial team — we test the advice on our own repairs
Read next
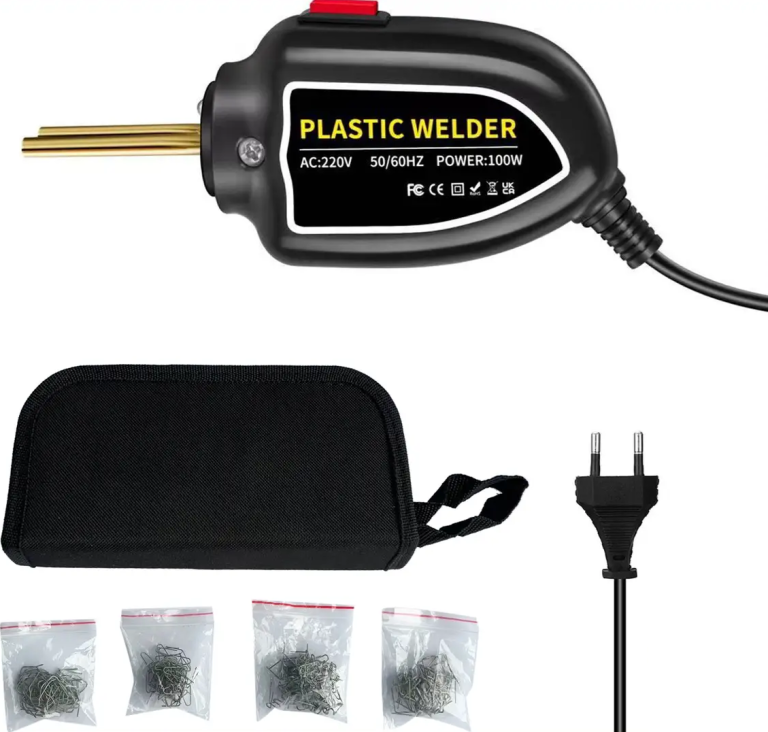 Plastic weldingHow to choose a hot stapler or a plastic welding ironStaples or rod, 50 or 110 W, a kit or just the tool. We compare the options and explain what to buy for your repair.4 min readRead
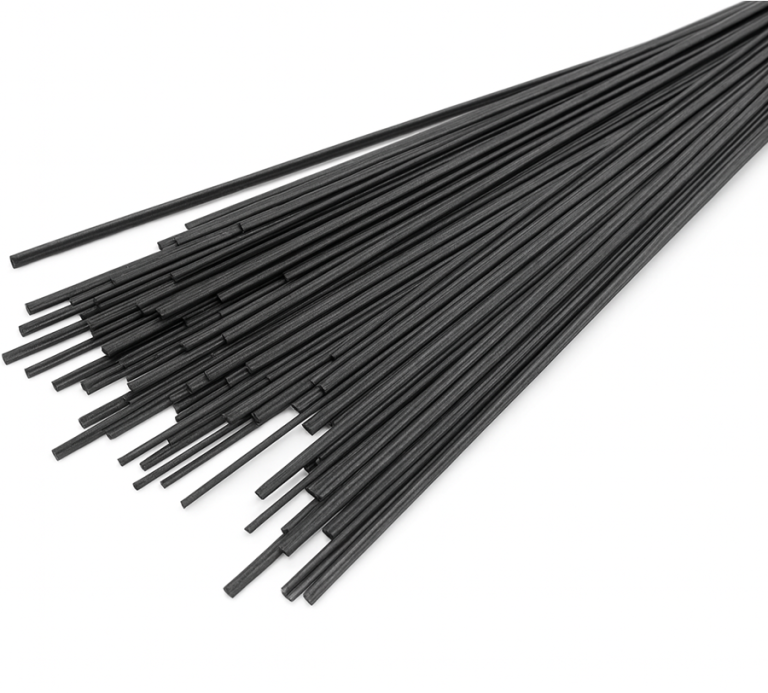 Plastic weldingHow to weld plastic with a rod: step by step and 7 mistakesGroove, heat, rod feed and cooling. How to make a seam that won’t chip off, and what not to do even “to save time”.4 min readReadPlastic weldingHow to weld a washer fluid reservoir or coolant tank so it stops leakingThe tank cracked after a frost or from vibration. How to weld it with rod, test it for leaks and when it is better to replace it.4 min readRead
Cannot find your case? Message us on Telegram and we will tell you exactly what to take for your part.
Message us on Telegram